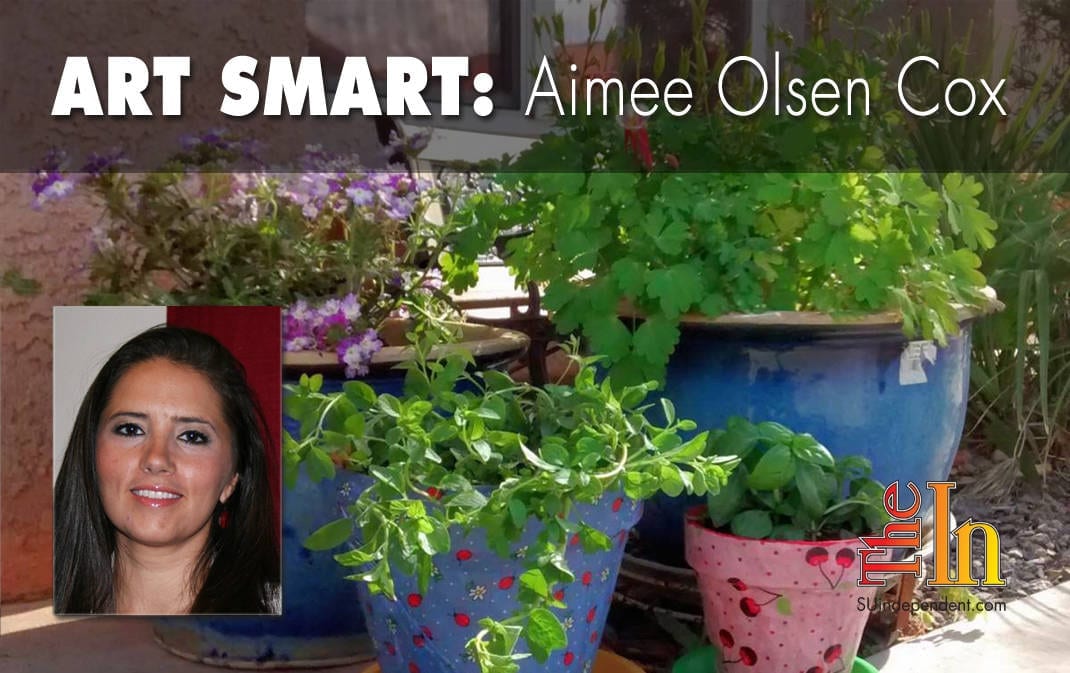
Spring weather is upon us. All that rain and sunshine gives me the urge to exercise my green thumb. It also makes me want to give old things a new look. Today, I have combined those two desires into the perfect spring art project. It’s loads more fun than spring cleaning. We are giving the planters some sprucing-up for spring. Everything looks so neat and pretty when you’re done! I used two methods to spruce up the pots to my liking. One is strictly painting, and the other involves fixing cloth to your pots. I will give the instructions for both. So grab the plants and the pots and get started.
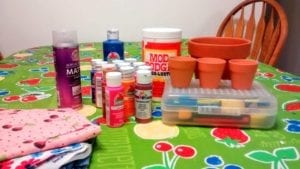
Here is what you will need:
—Acrylic paints.
—Paintbrushes.
—Cups.
—Paper towels.
—An old cupcake tin.
—A tablecloth or cover.
—Fabric of choice.
—Scissors.
—Mod Podge.
—Acrylic sealer.
—Painter’s tape (optional).
—Clay pots.
—Desired plants.
—Potting soil.
—Good music.
Most of these items are already on hand because of all the art projects we do. However, the little acrylic paints are $0.50 each. The Mod Podge starts around $5, and the sealer is also about $5. My children used the tiny pots that begin at $0.25 so that they could plant some succulents. The fabric I used has been sitting in my sewing box for about three years, so I have no idea how much it cost. You will have to decide how much you want to spend on pots and plants.
 Get ready!
First and foremost, you have to cover your work area. This is a messy one. Then gather all of your supplies. As usual, the cups will just be to hold water for rinsing the paintbrushes, and the paper towels are for dabbing off water. Go ahead and put your paints in that old cupcake tin. Every time I put paint in that old tin, I applaud my wisdom. Everyone needs and ego boost every now and then. Mine comes when I heartily approve my choices. Turn on some good music here too. It’s free, and I swear it’s good for getting creative juices and conversation flowing.
 Painting
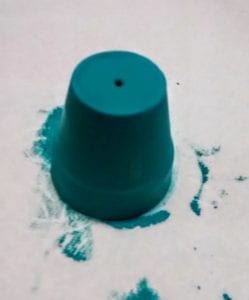
Now that you have everything, go ahead and start painting. If you are doing this with children, I strongly advise that you just relax and let them paint something that is uniquely them. You might not like it. Accept that now. I often wonder what exactly is going through my children’s minds when they create something. I have one child who I know just wants to use as much paint as possible. If you are doing this on your own, though, I suggest taking your time. If you will use two different colors on your paint, tape them off so the edges are neat. Clean edges make a huge difference. Also, remember that it’s best to let the bottom coat dry before putting anything on top of it. The nice thing about the clay pots is that they dry so quickly. For young hands, however, it might not be soon enough. If they are finicky, you might want to grab your blow dryer to speed things up.
Fabric preparation
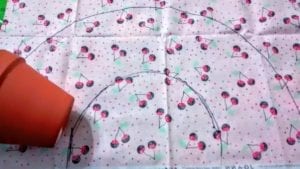
If you have decided to pretty up your pots with fabric, lay your fabric down with the pattern facing out. There is a way to actually measure the pot and cut the fabric appropriately. If you want more math in your life, go for it. Look it up online and do your math. I, however, prefer simplicity over all things. All you need to do is lay the pot
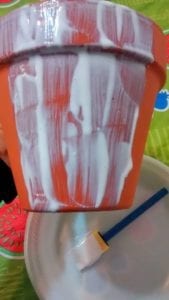
on its side on the fabric where you will start and get your marker ready. Giving about 1/2 inch on top and bottom, mark the fabric. Then gently roll the pot on its side a bit. As you roll it, continue to mark the fabric. You will notice that the pot rolls in a wide circle and that the marking resembles a donut half. You can see in the picture how I did it. I used black ink to make sure you could see clearly, but I strongly recommend not using black unless your fabric is dark. It shows through and will make you very sad. Trust me.
Mod Podging
Go ahead and cut the material now. Once again, I have a word of caution for you before you proceed. If you are planning on painting the inner lip of your pot or even the top portion, I strongly suggest you do that before slapping that fabric on it.
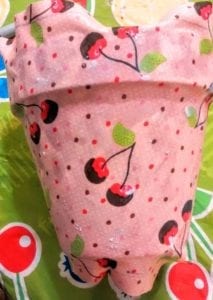
It’s just a nightmare if you reverse that order. You might want to smash your pot if you don’t heed my advice, and that would just be a waste. Hear and hearken, people. If, however, you are just using the fabric, proceed to slather that Mod Podge on the pot, putting the material on as you go. I’m not going to lie to you. This is a practice in patience and tolerance for many people. You have to be willing to go a little slowly with the material and accept that you will be covered in the Mod Podge. It is, however, worth it.
If you have a tray to sit under the pot, paint it in a coordinating color. It makes the whole thing more pleasing to look upon, very put-together.
Sealing
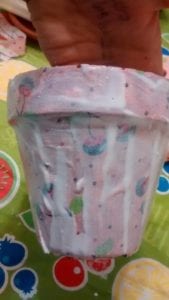
When you are through painting and the paint is dry, just take your pot outside and spray that sealer on it. It won’t take much. I prefer a matte finish. I only like my lip gloss and my car to shine. This is neither of those things, so a matte finish is for me. You can get a glossy finish if you like, though.
The fabric covered pots use something else. After you have applied the material, trim it nice and close to the edges. Then slather on more mod podge. Don’t use too much, though. It will take longer to dry. Now, because my pots will spend some of the time outside as well as inside, once they had finished drying from this step, I took them outside and sprayed them with the sealer as well. I honestly don’t even know if that will help, but it can’t hurt.
Planting Time
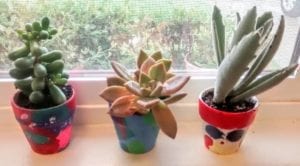
Now that your pots are complete, you are ready to plant! Follow the instructions for transferring plants to pots that are listed on the plant information, or ask your neighborhood gardening guru for tips. I have none for you. Trust me. You don’t want my advice. I might exercise the green thumb in the spring, but by the end of summer it is 95 percent black. This is actually why my children chose succulents. Everything we researched said they were easy to keep alive. I chose basil and oregano. I think that planting something useful will increase my will to keep it alive. That’s the idea, anyway. If they die, however, I will have the consolation of knowing they died in pretty pots. Wouldn’t we all prefer to go in something lovely? I would.
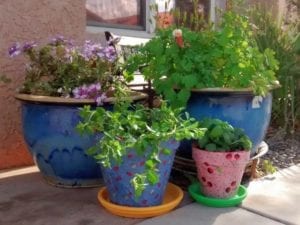 After this project was completed, I was thinking how cute it would be to personalize some pots with children’s hand prints. That would be adorable and would make a cute gift for grandma and grandpa. Then the thought of using lace instead of printed fabric popped in my mind and was quickly followed by a burlap idea. I think wrapping a flower pot with lace and burlap would be a beautiful way to personalize your clay pots. You could even paint them first and put lace on afterward. The possibilities are endless! So go ahead and give in to that little voice that is telling you to plant something right now. Make sure you do a little spring sprucing to get your pots looking smart. It’s so fun to see plants growing in a beautiful container. And your children will get a lot of enjoyment caring for a plant in a pot they spruced up themselves.


