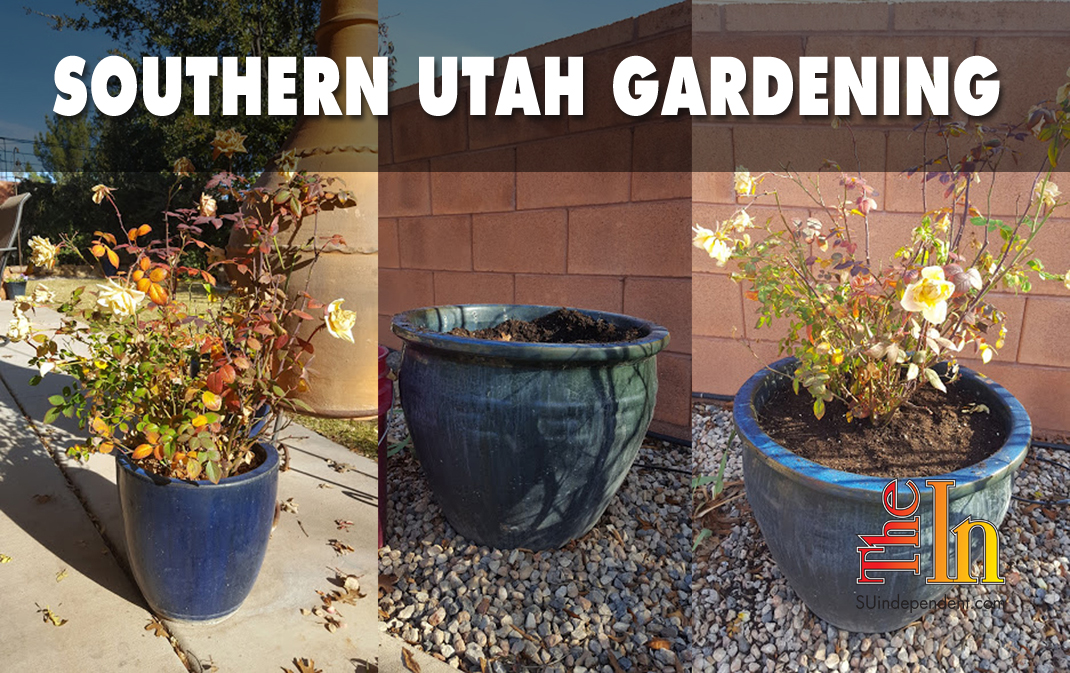
Southern Utah Gardening: Transplanting a rose bush
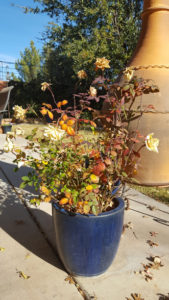
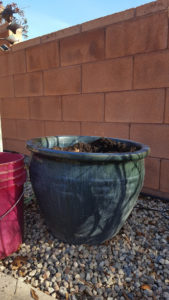 My latest gardening project was transplanting a miniature rose bush I was given as a gift about two years ago. It’s done remarkably well in a pot, and now it’s grown too large for the spot where I had it in on my patio. I decided to move it to a larger pot that I could see perfectly when relaxing on my patio and that still received a decent amount of direct sunlight. Transplanting a rose bush is easier and less complicated than you think.
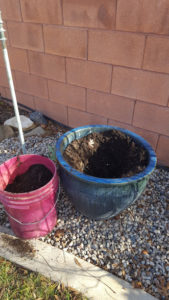 First, I removed some of the existing soil out of the new pot to make room for the root ball of the rose bush. I put the removed soil in a bucket so it would be easy for me to put back in the pot around the rose after I placed it in the new pot. I also took out any old roots that were lingering from previous plants. I usually have no issues reusing potting soil, unless there has been a drainage problem and the soil stinks or there is evidence of a soil-dwelling pest. I simply loosen the soil, add more if needed, and use it again. Adding fertilizer and a bit of new soil will replace any nutrients lost in the past.
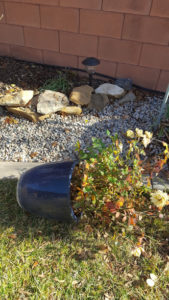
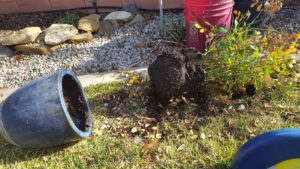 Second, I turned the pot with the rose in it on its side. I had a feeling it would be a little difficult to pull out, and I was afraid the canes of the bush might break if I had to pull kind of hard. So I figured pulling to the side, instead of straight up and directly against gravity, might be easier for me and easier on the rose bush. Wearing gloves, I grabbed a hold of as many canes as possible as close to the surface of the soil as possible and slowly started pulling and wiggling the root ball of the bush out of the pot. It took a few minutes, and a bit of effort, but I got it out of the old pot.
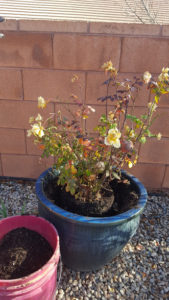
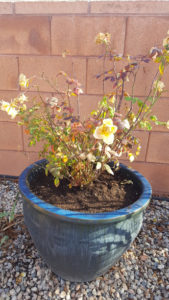 Next, I placed the rose bush in the hole I created within the soil in the new pot. The hole was too deep, so I took the rose back out, placing it on the ground. I put some soil back in the hole and patted it flat, making it level. Then I put the rose back in the new pot and started filling in around the root ball with the soil I put in the bucket. I patted the soil down firmly, making sure the top of the root ball was at about the same level as the surface of all the other soil in the pot.
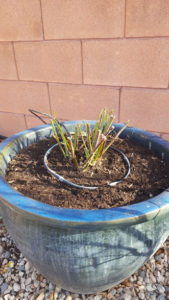
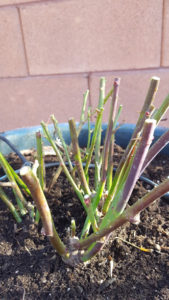 Finally, I pruned my rose bush just like my other rose bushes, making it look tidy and removing any dead canes. It’s still wintry enough, in my humble opinion, to winter prune roses … so I did. Then I arranged some drip irrigation around the rose to water the rose with the rest of my landscape. At this point, an application of Superthrive or a root stimulator of your choice would be a good idea. I ran out of time and didn’t do this. I’ll keep my eye on the rose bush, and if I don’t see any new growth or signs of buds swelling, I will go back and give it a drink of one of those mixtures.
As I noted, transplanting a rose bush is easier and less complicated than you think. Don’t be intimidated by moving things around in your garden. I think of my garden as another set of rooms in my house. When I transplant something, I am just rearranging the furniture of my outdoor rooms. So get outside and enjoy your garden and the amazingly satisfactory feeling of transplanting something.
Articles related to “Southern Utah Gardening: Transplanting a rose bush”
Southern Utah Gardening: The time has come to fertilize your lawn and garden


