

Nearly everyone has headed back to school and academics in one way or another by now. Parents sending their children to public and private school have covered the internet with their children’s back-to-school pictures. Meanwhile, all the homeschoolers and parents with toddlers have shared their not-back-to-school pictures. The intent is always to see the growth in our children, and it’s fun.
However, when I was back home visiting my parents this summer, I found a lot of memorabilia from my long-forgotten youth. None of it was digital. It was all tangible, something I could touch, feel, and remember creating. I wanted to give things like that to my children. This seemed like the perfect time of year to create silhouettes with our children. It’s the beginning of a new season in their lives, which makes it a great time to have this keepsake in future years to look back on.
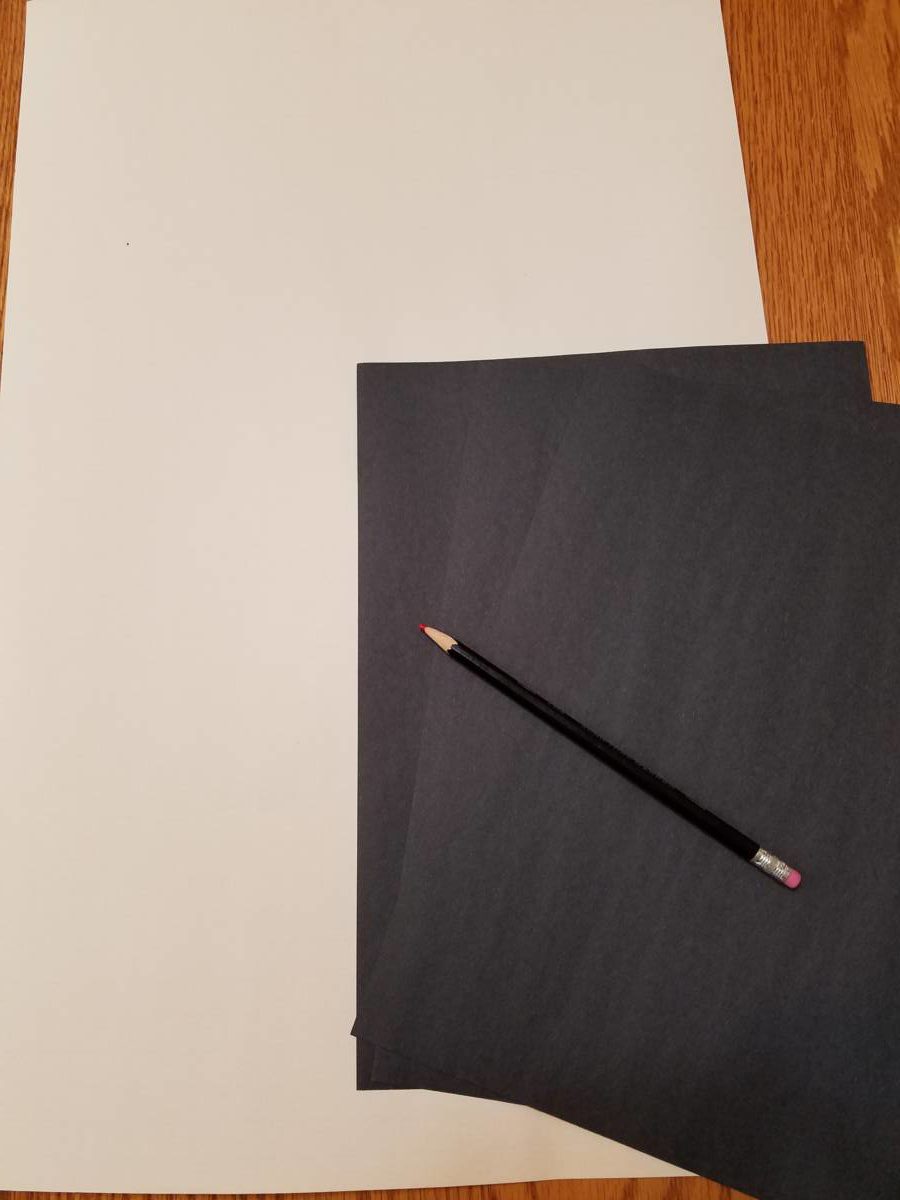
Here are the supplies you will need:
—Two large pieces of white paper per child.
—One large piece of black paper per child.
—Tape.
—Glue.
—Scissors.
—A pencil.
—A bright light, spotlight, or flashlight.
—A chair.
The paper that you use is up to you. You will want it to be easy to cut, however. I used the Mix Media paper that I always have on hand for the white paper. The black paper that I used was extra-large black construction paper. You can purchase it practically everywhere. Don’t make the mistake of using the regular size. It won’t be large enough. It’s only about $3 or $4 for a pack of construction paper, and you won’t use the whole thing. As for the glue, you can use what you like, but let me just tell you about this favorite glue I found. It’s called Elmer’s X-Treme School Glue Stick. It is exactly what it says: extreme. It is not your average glue stick. It actually works! I love it. It’s huge, and I use it for everything. It is supposed to work on wood and fabric and other stuff, too. All I know is that my papers actually stay together when I use it. It’s not your average sissy glue stick. Also, it’s $2. As you will want the little ones to do the cutting, kid scissors are fine for this project. The light you use is up to you. I just used the flashlight from my cell phone. It worked great.
Preparation
Preparing for this project can be as simple as setting up the chair and taping a piece of white paper to wall next to chair. If your children are a little older, however, you could do more. For example, I had a very short lesson with mine about negative space. We very basically defined it as the space where other things are not present. We watched videos on YouTube about it. The best part was looking at art that used easily identifiable negative space. If you have kids that can follow some, all, or more of that, it would be a great way to prepare them before you create the silhouettes with them. Even if you just sit down and show them the old 18th-century silhouettes, they would probably like that. You can also show them all the fun optical illusions that people have created using negative space. That’s where we have spent a lot of time since we made these. It’s always enjoyable to see where new discussions lead.
Hold very still
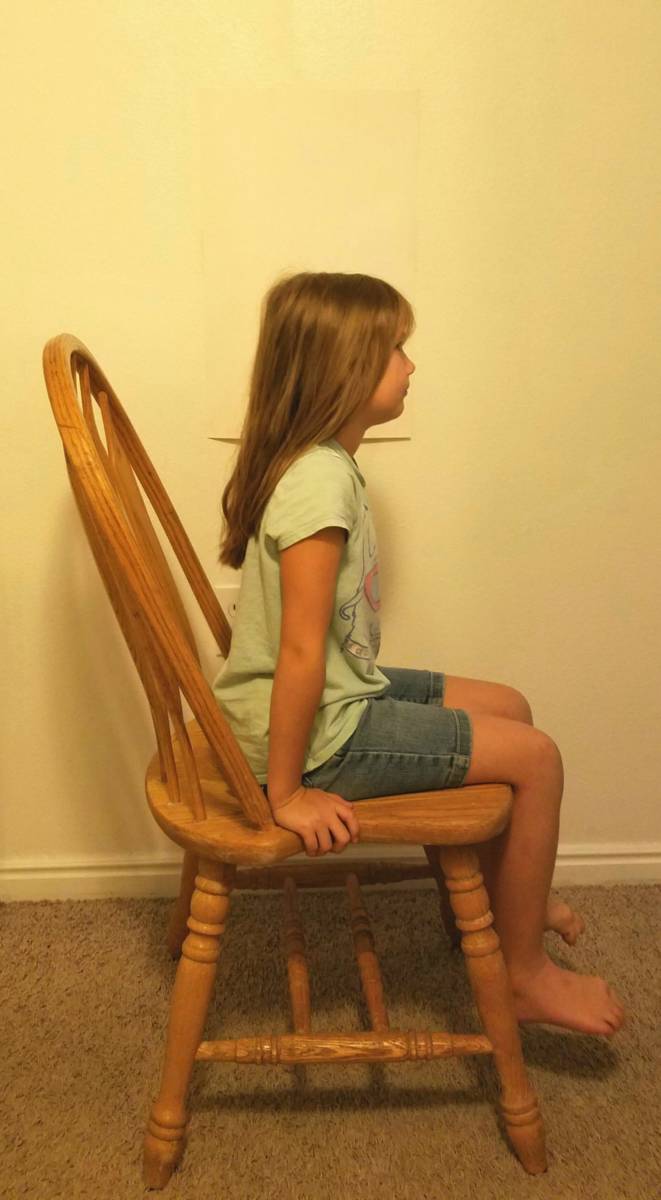 After preparing, have your child sit on the chair facing forward. Have someone else hold the light far away, or set up the light to shine from far away. You will want it pretty far because the closer the light is, the larger the shadow is. Then you just trace the profile to create the silhouette. It doesn’t sound difficult at all, does it?
I promised to always be honest with you, and I will remain true to that. The hardest part about this is holding still. It’s really quite difficult for younger kids. If you have little ones, I highly recommend having someone willing to gently hold their head still while you trace their facial outline. It helps quite a bit. You can see from all the lines on my example that I had to continually restart with my youngest until I had my oldest hold her head. She’s 8 years old, and she still needed a little help. Just keep that thought in your head.
White to black
 Now you take that white paper and tape it to your black paper. Tape it very securely. You really don’t want that paper to move around. It will mess with your silhouette. I actually had two children who decided to cut out their silhouettes first, and then they taped it to the black paper. Then they cut it out that way. I honestly don’t know which is better. I think as long as it is taped securely, it will be fine. A word to the wise parent, though: If you want your silhouettes to be framed, you might not want the children to cut them out. The reason I say this is because they most definitely will make some sharp pointed lips or noses. It’s sort of adorable but definitely not true to life. Of course, there is the option of just helping them around those difficult spots. As always, I leave the choice in your capable hands.
Black to white
Now that you have created your black shadow silhouette, you simply need to grab your glue and paste the black to the fresh piece of white paper. There you have it: your baby’s silhouette. They might not think they are babies, but we parents know that they will always be our babies. I chose to write their names and the year down in the bottom corner. I also decided to keep these in my bedroom where my mother heart could see them all the time. I know that one day I will put them away in the keepsake tub, but for now, I have them.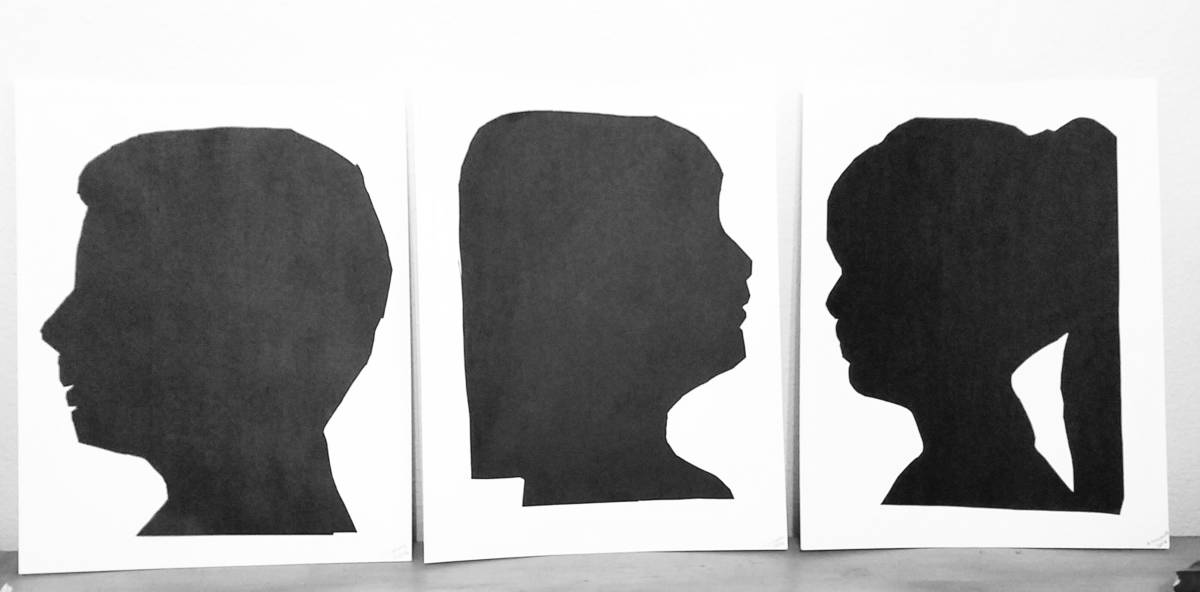
I hope you have fun creating silhouettes with your children. It’s a fun piece of personal history to have in their files that they can look back on in the future. As someone who has done so recently, I promise it’s true. Let me know how it goes!


