

I am certain you have all seen or created bean mosaics at some point in your life. They are inexpensive, so schools all over create them. We are creating bean mosaics today as well, but we are making a few key changes. The reason for this is because I want to start focusing on process art as often as possible. If you have never heard of that before, it’s exactly what it sounds like: art that focuses on the creation process rather than the end product. If you need your creation to look a certain way, you cannot create process art. That’s why bean mosaics are such a simple way to break into this area. They are extraordinarily inexpensive and simple to make.
Your list of supplies:
—Cardboard.
—Various types of legumes.
—Glue.
—Cheap paintbrush (optional).
—Marker (optional).
 Like I said earlier, this project is insanely inexpensive. We used cardboard from one of our many boxes that we get from the UPS driver. You can use old cereal boxes, too. I am not a believer in paying for cardboard, but you can do that if you like. They sell it at all sorts of stores.
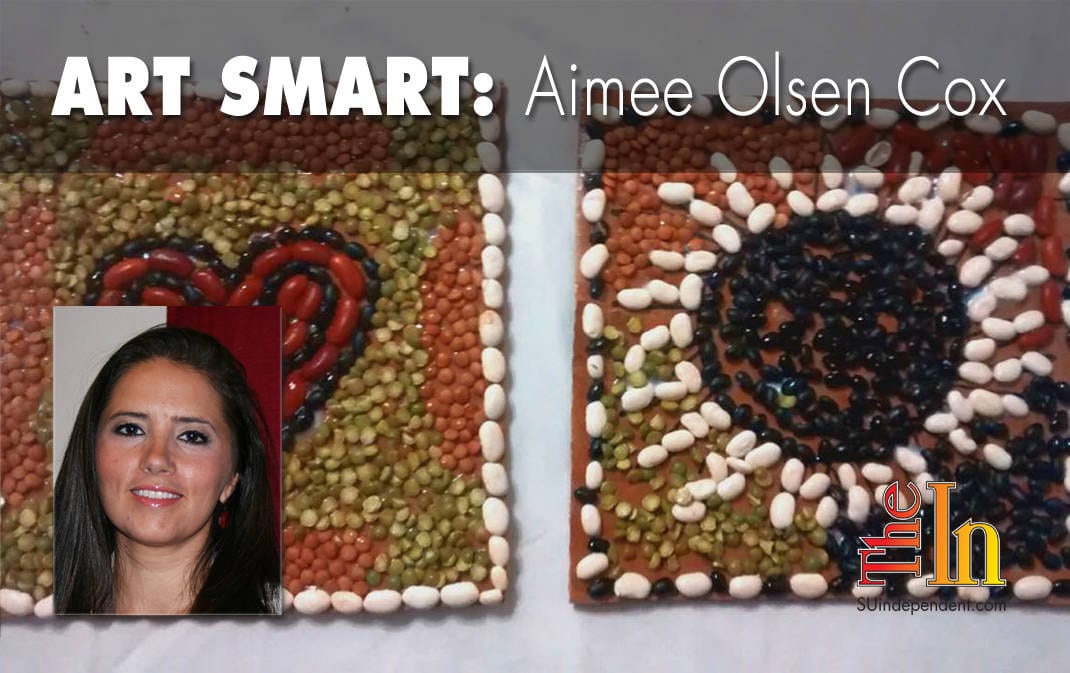
As for the legumes, we used six different types. We used pinto beans, black beans, kidney beans, lentils, split peas, and white beans. The grand total was a staggering $3.
The glue we opted to use is Mod Podge, because we have that on hand. If there is only one person creating the mosaic, you can also use Tacky Glue. The bonus of that glue is that it comes out of a nozzle and is easy to apply. You also won’t need the paintbrush for this glue. The downside is that you will probably use almost the entire bottle. Both work fine, though. You only need the marker if you or your child wish to draw your design on the cardboard. I brought it out so that everyone would know they could use it.
Get ready!
 This project is so simple that there will be very few steps. First, cover your work surface. Then gather up the supplies. We put our beans in bowls to give us easier access to them. I cut the cardboard into squares for everyone. That’s really all you need to do to prepare. Easy peasy, lemon squeezy!
Get set!
If your child doesn’t know what a mosaic is, now is the time to give him or her a brief overview. When I say brief, I mean no more than a minute or two. I told my youngest that it is essentially creating patterns and pictures with small pieces of something that were intended for something else, like seashells or broken glass. The small pieces come together to create something neat.
Go!

Just have everyone dive in and create! They can make it whatever they want. That’s how this mosaic differs from others. Generally, when kids are creating mosaics, someone else already has a pattern for them to follow to create a mosaic of a leaf, a flower, etc. For this to be process art, don’t give them instruction. You’ve already told them what a mosaic is. Let them explore.
This is where the magic happens. Process art helps children learn to take risks, increase motor skills, improve spatial reasoning, and many more things. More importantly, they learn these things in the best way possible: while having fun. This does wonders for all children but especially for children with special needs.
What to observe

I have mentioned before that I have a child with autism. Some of his struggles (as well as some others with special needs) involve different textures and smells, self-expression, impulse control, planning, and being all right with imperfections. Process art is a great tool for kids with special needs to work on these skills. It’s a totally safe creative process that they completely control.
My son was trying hard to create a sun mosaic. He had his own idea of what he wanted and tried to get it just right. He even had the idea to use something round (the lid of the Mod Podge) to draw his perfect circle. Unfortunately, just like practically everything in our lives, his sun did not turn out exactly as he had planned. He decided to quit “because it’s stupid.” I kept asked him to just do a little more, fill in some blanks maybe. I did this because I know my son’s real limits as well as his imagined ones. He hadn’t actually reached his limit yet. He agreed to just fill in the blank spots. When he was through, he walked away without looking at his finished product. He was through with it. Later, however, he glanced at it sitting on the table and then did a double-take. He was so impressed with himself!
That is the beauty of process art. When you are done creating, the process will have changed you. Hopefully, you will have grown in some way. My son’s capacity for dealing with disappointment grew as did his confidence. At the end, he understood a little better that life is a process and that we are always becoming. Our ideas of what will be are always changing, and we are forever learning to have joy in the process. We are daily understanding that what makes the something beautiful was the work it took to create it, the process. Watching his process was just a enriching for me as well.
I’ll be doing more with process art. One of the nice things is that nearly every project can be made into process art. I hope you have fun creating and learning with the bean mosaics this week! Let me know how it worked out for you!


