
 Southern Utah Gardening: Drip irrigating pots

 I am a very bossy person, and I knew I could easily boss my irrigation system around and make it water some pots on my porch. After all, it works for me, right? For years, I’ve thought about adding some drip irrigation to pots so I wouldn’t have to worry about watering them by hand. I finally decided to do it after I bought flowers to plant and knew that if I didn’t do it before I planted them I would have to wait until I was planting for the cooler season. If I did that, all summer I would constantly worry about watering my pots — even resorting to asking someone to water my pots for me every time I was away, even for just a weekend. So I delayed planting my new flowers and gathered my irrigation supplies.
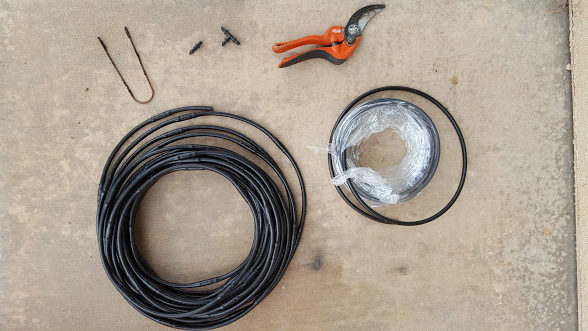 I assembled my hand pruners, a roll of quarter-inch poly tubing, a roll of quarter-inch soaker drip line with six-inch spacing between emitters, quarter-inch straight barbed connectors, quarter-inch tee barbed connectors, and some garden landscape staples. The key item here is the quarter-inch soaker drip line. This amazing stuff can be attached to your drip system to water vegetable gardens, flower gardens, and of course pots! It has a half-gallon-per-hour emitter every six inches to ensure an even soaking of soil. I’ve had it in my raised vegetable garden for years, and it works like a charm!
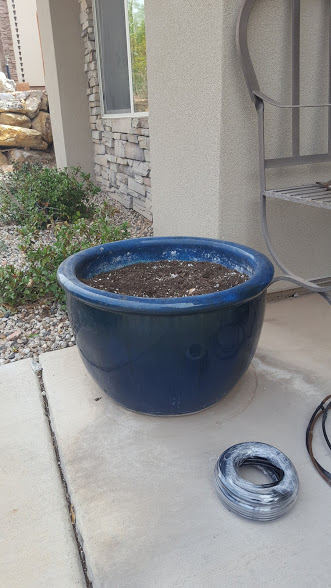
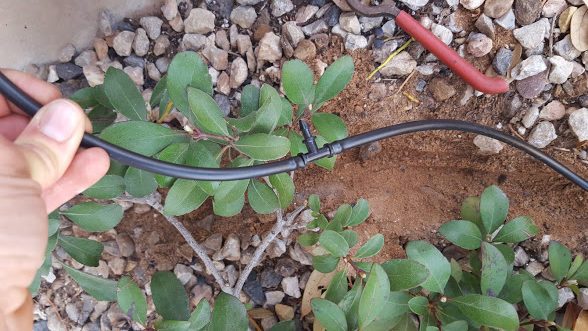 Having assembled my tools, I located the quarter-inch poly tubing that was leading to and watering the shrub nearest to my pot. Then I used my pruners to cut the tubing. I inserted a quarter-inch tee into both cut ends of the tubing. On the end of the tee left unattached, I connected another piece of quarter-inch tubing and made sure it would reach one of the two pots I wanted to water. I cut the tubing at that spot, inserted another tee, and attached another length of poly tubing that reached the second pot. At the second pot, I cut the tubing and attached another tee.
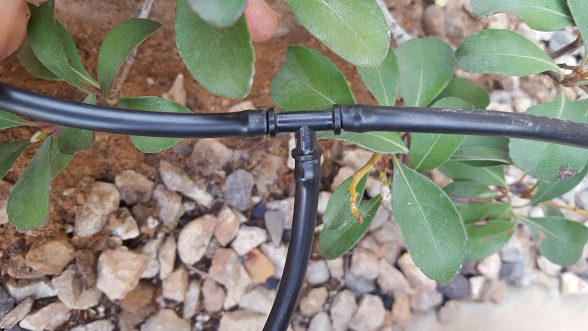 Next, I went back to the first pot and added a tee to the end of the tubing that reached into the pot. I took the quarter-inch soaker drip line and connected it to one end of the tee. Then I made a small circle with the soaker line, cut it when I liked the size of the circle, and connected it to the end of the tee that was left, creating a circuit of irrigation. The second pot got the same treatment with a smaller circle to accommodate the smaller size of pot. Then I took two garden staples and used them to secure the drip line to the soil. I was ready to plant.
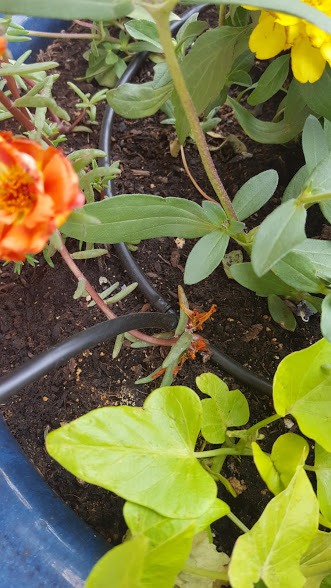 I had to do the planting another day since the irrigation project part took the better part of an hour and I had other pressing chores to address. However, once I did plant the flowers, I only watered them by hand once. That was the day I planted them. The irrigation system has taken over my hand-watering responsibility, with a bit of supervision by me. Like I said, bossing comes naturally to me. I make sure to always monitor my irrigation system. More than once, I have had an irrigation valve not shut off, and the water ran and ran until I physically turned the valve off! I felt like a jerk, having wasted all that water. Monitoring irrigation means not feeling like a jerk about wasting water.
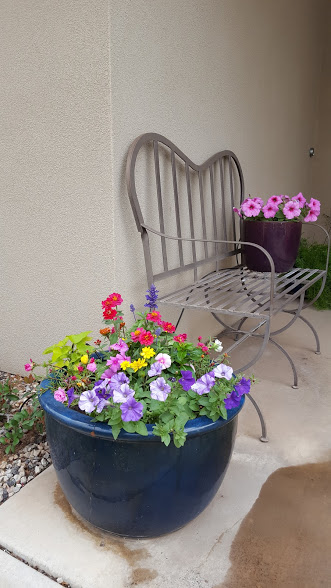 I’m really happy with how this project turned out. I love knowing that my pots are being watered, and not by me! I think anybody with the right pieces of the drip irrigation puzzle can complete this project with ease. Don’t be intimidated by your irrigation system. It works for you. So be the boss, and get outside and enjoy your garden!
Articles related to “Southern Utah Gardening: Drip irrigating pots”
Southern Utah Gardening: Growing strawberries in home gardens
Southern Utah Gardening: An unruly patch of oregano gets a trim


I see that you have the flower pot sitting on concrete (patio). What do you do about the water that drains from the pot and stains the patio? We have four large pots with irrigation lines, but they all stain the concrete if the water that drains from them is allowed to dry. We have sworn not to put any pots on concrete in the future. We have been unable to figure out a way to drain the water to the nearby flower beds without getting it on the concrete.
Thanks.
Our large pots are off the concrete onto flat cinder-like blocks in the rock mulch areas, and the overflow drains well.