
 Southern Utah Gardening: Harvesting and Drying Herbs

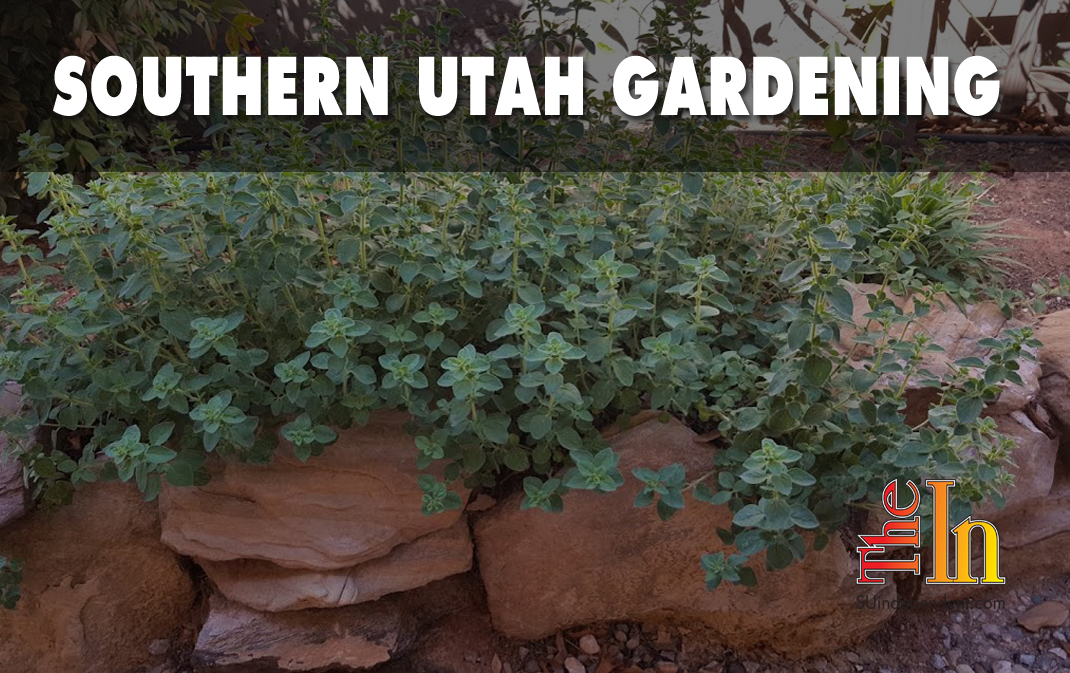
I have no idea how many folks out there are paying attention to my articles documenting my garden adventures. But this week I thought I’d write about harvesting and drying herbs, so I revisited the patch of unruly oregano I trimmed back some weeks ago.
 It is now looking pretty awesome, and though fresh oregano is nice, dried oregano is the cat’s meow, in my humble opinion.
This method works great for all kinds of herbs. Don’t shoot yourself in the foot by growing amazing basil and oregano all summer and not dry some for the cool months of the year.
I use dried basil, thyme and oregano the most, and so I try to dry a lot of those. However, I have dried marjoram, sage, peppermint, and tarragon, as well. I have not dried cilantro or chives, but that’s not to say it can’t or shouldn’t be done. This year, I hope to dry some parsley, of which I use a ton, and some dill.
 But for now, let’s talk about harvesting and drying oregano.
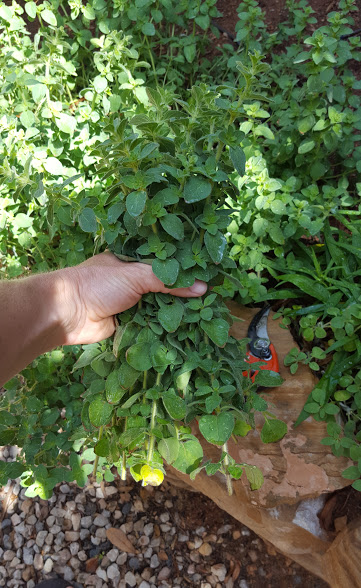
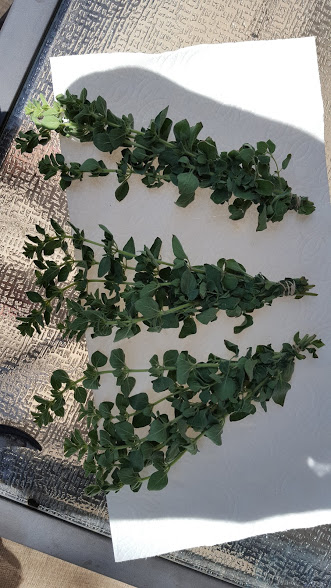
First, I used my hand pruners to cut sprigs of oregano that were six to eight inches long. I chose sprigs at random and collected until I had a hefty handful.
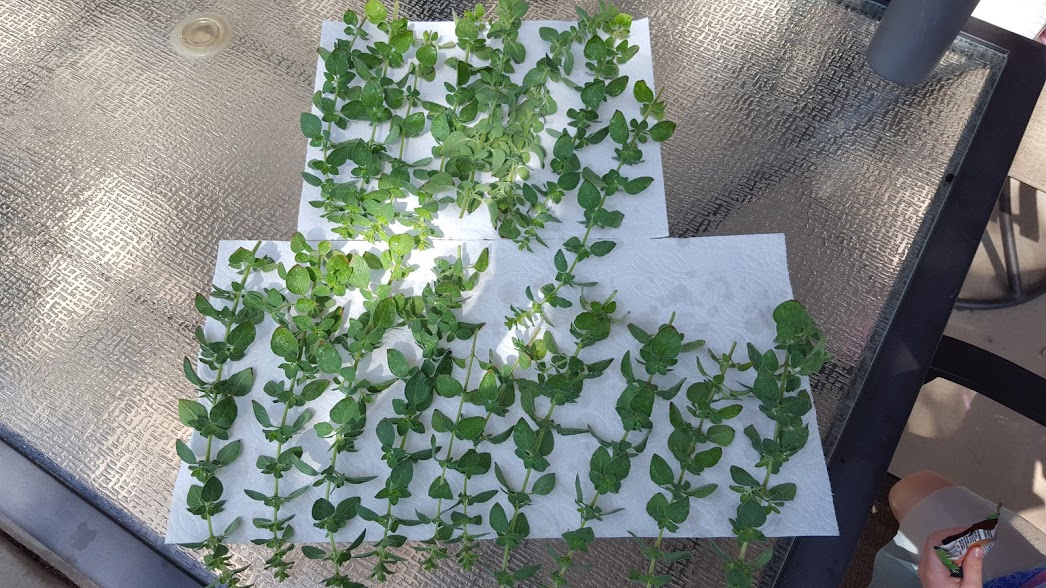
 Since they were all covered with leftover drops of rain from the night before, I laid out all the sprigs on paper towels to dry. It didn’t take long for them to dry, about 30 minutes.
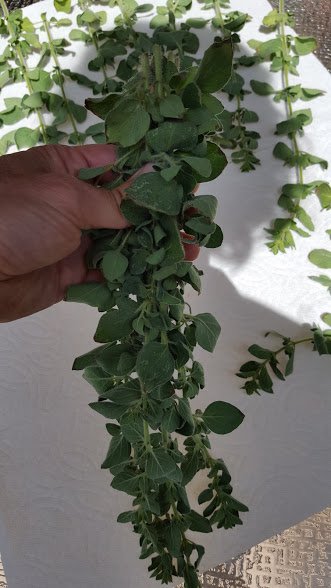
Then I gathered six or seven sprigs together and secured them in a little bunch with a rubber band wrapped around one end of all of them.
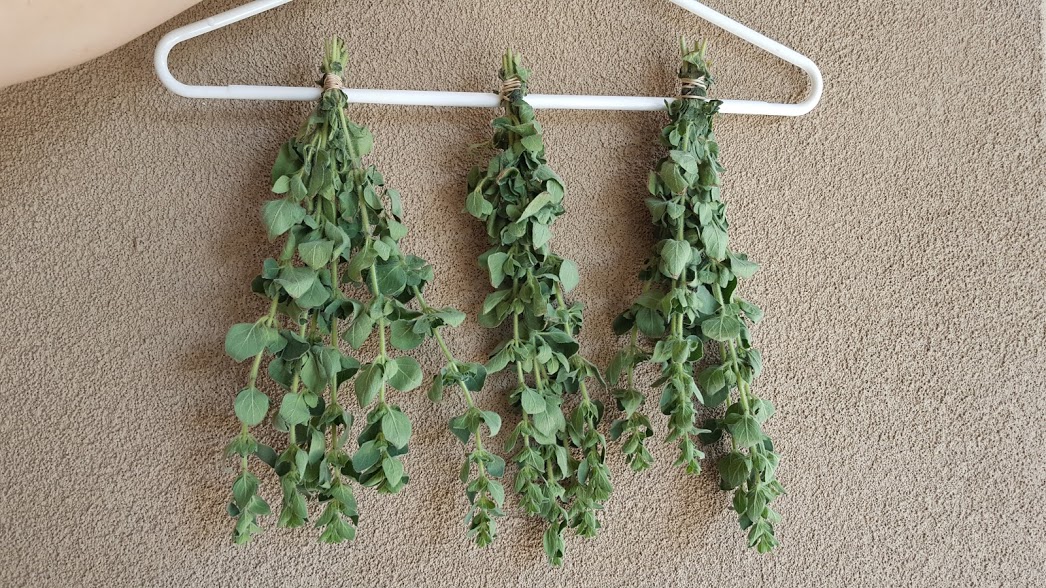
When I had three bunches made from all of the sprigs I had harvested, I used the rubber band at each end to attach them to a clothes hanger. I did this by pulling one loop of the rubber band underneath and around the bottom of the hanger, and then hooking it over the end of the bunch of oregano sprigs. It works great!
 I’ve done this lots of times, and the trick is to make sure the rubber band is tight. As the herbs dry, they shrink a bit. A tightly wrapped rubber band ensures the bunch of herbs — in this case, oregano — stays together and doesn’t fall out of the bunch.
I hung these bunches of oregano in my pantry on a thumb tack stuck into the edge of one of the shelves. I have also hung many hangers of many bunches of herbs in a bedroom closet that had some space.
Cool, dark, and decently circulating air is where you want to dry your herbs. Once they are crispy dry, store them in an airtight container. I use mason jars with a piece of tape designating the herb and the year I collected it. I recommend leaving the leaves of your dried herbs as whole as possible. You can leave them on the stems or remove them, but try to keep from crushing them until the very second you use them. You will be amazed and pleased with the result.
 You will also be annoyed when you run out of your personally dried herbs and are forced to buy some old stuff from the grocery store. On that note, I have used two- and three-year-old dried basil that I dried from my garden, and it was still insanely superior to store-bought dried basil.
Now you see how easy and worthwhile it is to dry your very own garden-grown herbs. Don’t wait until the end of summer to get started. As soon as you think your herbs look great, harvest some and set them to drying. They will push out another flush of new growth before you know it, and you can harvest and dry some more! Now get outside and enjoy your garden!
Articles related to “Southern Utah Gardening: Harvesting and drying herbs”
Southern Utah Gardening: An unruly patch of oregano gets a trim


Thanks for the directions on drying herbs…. I will start that tonight with my oregano, mint, and sage
janey
Rad! You will love the freshness of your own dried herbs. Thanks for reading!
Isn’t it better to dead head roses by breaking the stem off where the rose buds dies back to, If you do not dead head it, it dies and drys up back to where the rose budded to start with. there is usually already a bud started to grow by the time the rose is spent and it speeds up the blooming process. I’m better showing what I mean verses writing about it.
What are your thoughts on this? I’ve done it for years the way you said. until this last summer when a lady showed me this other way.